Robot Schedule Dashboard Asset Descriptions
Following are descriptions of each of the available Robot Schedule dashboard assets. You use the assets to create widgets. Note: The default asset names are listed below. When you create your widget, the asset name will be used as a default name. You can change that name.
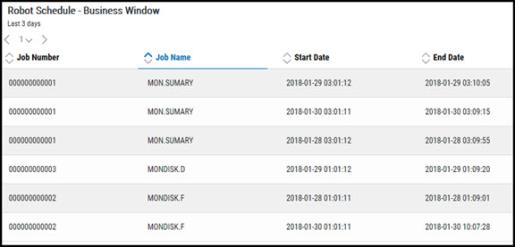
For the selected system or critical job list, you can create a widget from these assets that allows you to set a window of time during which you'd expect certain jobs to normally run. It then shows you any anomalies, such as jobs that didn't run, or jobs that ran outside of (before or after) the business window you set. This can help you monitor whether or not you're meeting the terms in your SLAs. With this information, you can identify problem areas and fix them.
Available Assets:
- Business Window
- Critical Job Business Window
To Change the Settings:
- Toggle Edit mode On.
- Click Edit Widget.
- On the Edit Widget panel, expand the Advanced Setting section and change settings as desired. See Advanced Settings for more information.
You can create a widget from these assets that displays information about the group jobs on the selected system. This information can help you analyze and address issues with your group jobs. For more on group jobs, see Groups.

Available Assets:
- Group Jobs
- Group Jobs Override Counts
To Change the Settings:
- Toggle Edit mode On.
- Click Edit Widget.
- On the Edit Widget panel, expand the Advanced Setting section and change settings as desired. See Advanced Settings for more information.
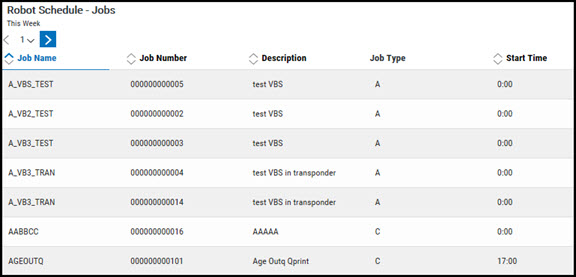
You can create a widget from this asset that displays information about jobs on the selected system over a selected period of time. This information can help you analyze and address issues with your jobs.
Available Assets:
- Jobs
To Change the Settings:
- Toggle Edit mode On.
- Click Edit Widget.
- On the Edit Widget panel, expand the Advanced Setting section and change settings as desired. See Advanced Settings for more information.
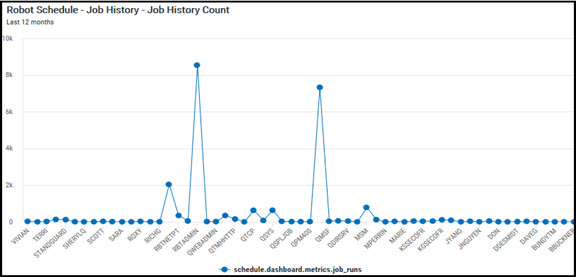
You can create a widget from these assets that displays the same job completion history records that you'll also see on the Completion History page. You can also create widgets that show Job History counts, status counts, and counts by type.
Available Assets:
- Job History
- Job History Count
- Job History Count by Type
- Job History Status Count
- Job History Status Count by Type
To Change the Settings:
- Toggle Edit mode On.
- Click Edit Widget.
- On the Edit Widget panel, expand the Advanced Setting section and change settings as desired. See Advanced Settings for more information.
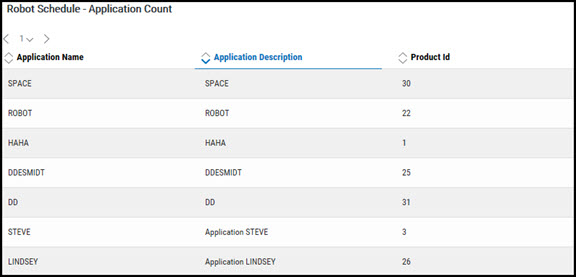
You can create a widget from these assets that displays the applications within your selected system.
Available Assets:
- Application Count
- Applications
To Change the Settings:
- Toggle Edit mode On.
- Click Edit Widget.
- On the Edit Widget panel, expand the Advanced Setting section and change settings as desired. See Advanced Settings for more information.
You can create a widget from these assets that displays the monitor history records for job overrun, underrun, and late start events that occurred. These are the same records you'll see on the Job Monitor History page; they're just displayed in a convenient dashboard. You can also view the history count by job and history count by type. Note: You can add a monitor to a job when you add or edit the job in Robot Schedule - either in the Explorer or on the IBM i.
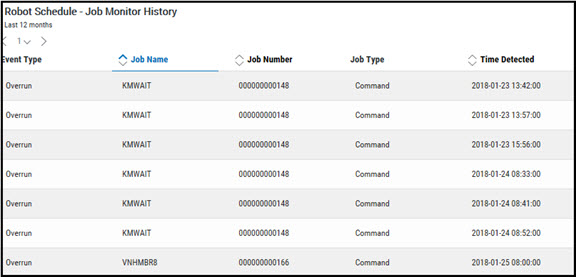
Available Assets:
- Job Monitor History
- Job Monitor History Count by Job
- Job Monitor History Count by Type
To Change the Settings:
- Toggle Edit mode On.
- Click Edit Widget.
- On the Edit Widget panel, expand the Advanced Setting section and change settings as desired. See Advanced Settings for more information.
You can create a widget from these assets that displays the event monitor history records. These are the same records you'll see on the Event History page; they're just displayed in a convenient dashboard. The records show the directory, file, and member events (added, changed, removed, or threshold) that occurred during the time period you select. Note: You can set up event monitors using either the Robot Schedule Explorer or the IBM i.
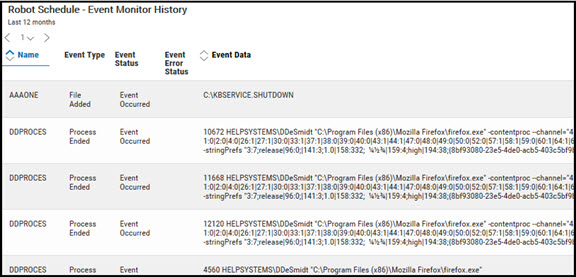
Available Assets:
- Event Monitor History
- Event Monitor History Count by Category
- Event Monitor History Count by Event
- Event Monitor History Count by Type
To Change the Settings:
- Toggle Edit mode On.
- Click Edit Widget.
- On the Edit Widget panel, expand the Advanced Setting section and change settings as desired. See Advanced Settings for more information.
You can create a widget from this asset that displays the Last Wakeup and Next Wakeup time.
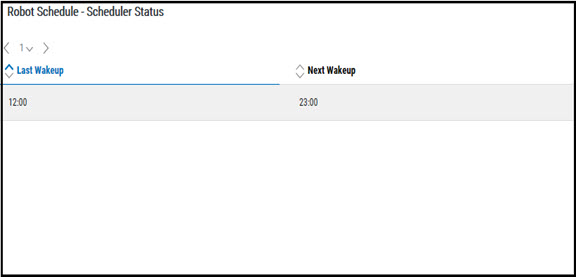
Available Assets:
- Scheduler Status
To Change the Settings:
- Toggle Edit mode On.
- Click Edit Widget.
- On the Edit Widget panel, expand the Advanced Setting section and change settings as desired. See Advanced Settings for more information.
You can create a widget from this asset that displays a snapshot of the current status of the jobs that are on all the critical job lists that have been defined. With this information, you can decide whether or not you need to take action on those jobs. Note: Critical job lists allow you to identify jobs that are important to you - even if they run on different systems. For details, see Critical Job Lists.
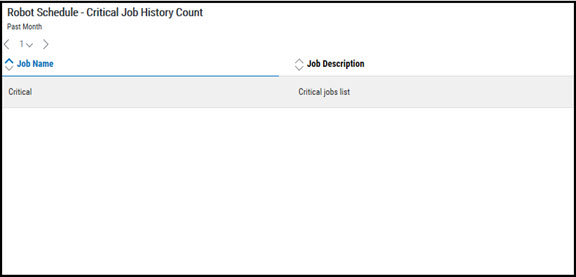
Available Assets:
- Critical Job History Count
- Critical Job History Count by Type
- Critical Job History Status Counts
- Critical Job History Status Counts by Type
To Change the Settings:
- Toggle Edit mode On.
- Click Edit Widget.
- On the Edit Widget panel, expand the Advanced Setting section and change settings as desired. See Advanced Settings for more information.