Adding a New Product Connection
In order to use the HelpSystems Insite modules, you must connect Insite to one or more of your systems.
This is one of the tasks that must be done before anyone can use the Insite modules. For a list of the available modules, see Welcome to HelpSystems Insite.
Follow these steps to define a connection:
-
In the Navigation Pane, clicktap Settings.
-
ClickTap Product Connections.
-
ClickTap Add.
-
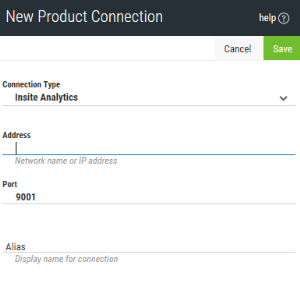
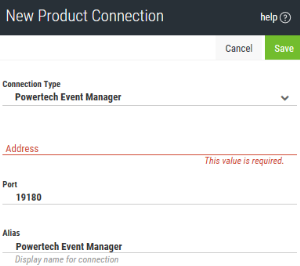
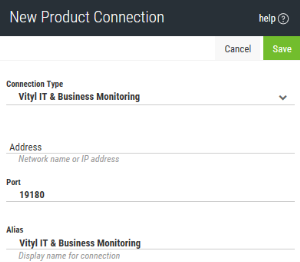
Select a Connection Type.
-
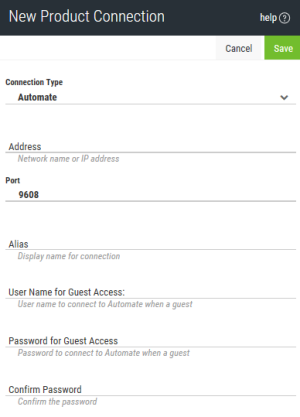
 If you chose an Automate Enterprise server connection:
-
Enter the IP Address (or network name) of the Automate Enterprise server you want to connect to.
-
Enter the Port number for the server.
-
Enter an Alias for the server. This is what displays throughout Insite.
-
Enter a User Name for Guest Access and Password for Guest Access (and Confirm Password) for a user who would log on as a guest on the system you entered above.
NOTE: You will not necessarily log on to Insite as this user (unless you choose to). This is just the user that allows the connection to be made to the Automate Enterprise server.
-
-
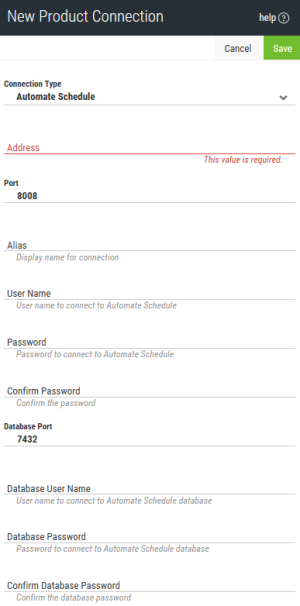
 If you chose an Automate Schedule server connection:
-
Enter the IP Address (or network name) of the Automate Schedule server you want to connect to.
-
Enter the Port number for the server.
-
Enter an Alias for the server. This is what displays throughout Insite.
-
Enter a User Name and Password (and Confirm Password) for the user of the system you entered above.
-
Enter the Database Port number.
-
Enter a User Name and Password (and Confirm Password) for the database user of the database you entered above.
-
-
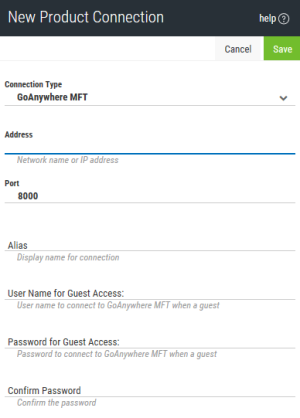
 If you chose a GoAnywhere MFT system connection:
-
Enter the IP Address (or network name) of the GoAnywhere MFT system you want to connect to.
-
Enter the Port number for the system.
-
Enter an Alias for the system. This is what displays throughout Insite.
-
Enter a User Name for Guest Access and Password for Guest Access (and Confirm Password) for a user who would log on as a guest on the system you entered above.
NOTE: You will not necessarily log on to Insite as this user (unless you choose to). This is the user that allows the connection to be made to the GoAnywhere MFT server and is the profile used to access data for Guest Dashboards.
-
-
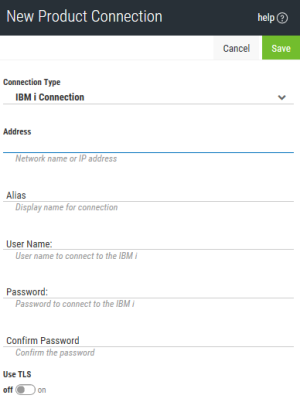
 If you chose an IBM i connection:
-
Enter the IP Address (or network name) of the IBM i system you want to connect to.
-
Enter an Alias for the IBM i system. This is what displays throughout Insite.
-
Enter the User Name and Password (and Confirm Password) for a user on the system you entered above.
NOTE: You will not necessarily log on to the Insite as this user (unless you choose to). This is just the user that allows the connection to be made to the IBM i. Therefore, the user you choose must have QSECOFR or equivalent authority so that Insite can gather the information it needs.
-
-
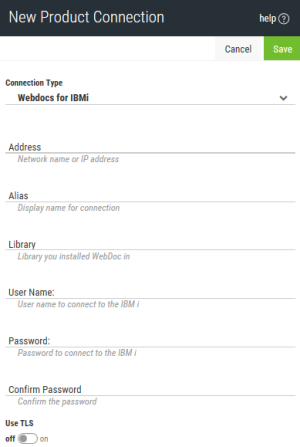
 If you chose a Webdocs for IBM i connection:
-
Enter the IP Address (or network name) of the Webdocs IBM i system you want to connect to.
-
Enter an Alias for the Webdocs IBM i system. This is what displays throughout Insite.
-
Enter a User Name for Guest Access and Password for Guest Access (and Confirm Password) for a user who would log on as a guest on the system you entered above.
NOTE: You will not necessarily log on to the Insite as this user (unless you choose to). This is just the user that allows the connection to be made to the Webdocs IBM i system.
-
- If you are configuring an IBM i or WebDocs for IBM i connection, turn Use SSL on to use TLS security to encrypt the connection. If you do this, you will first need to have configured a Certificate. See Securing an IBM i Product Connection for details.
-
ClickTap Save.
