
Routing Documents
Webdocs uses routing to automate the manual process of moving a document from person to person for approval. Your Webdocs administrator may have set up routes for your organization or department.
This topic is divided into the following:
Adding a Document to a Route
To add a document to a route so that other users can approve it:
Note: Before you begin, make sure your administrator has told you which routes to use.
-
Display the document information for the document to route.
-
Click the Actions
 button.
 -
Select Routing from the menu.
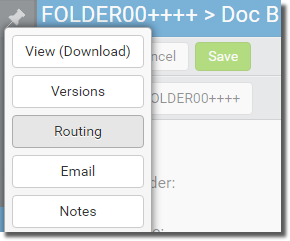
The route list for the document displays.

-
Click Add Route.
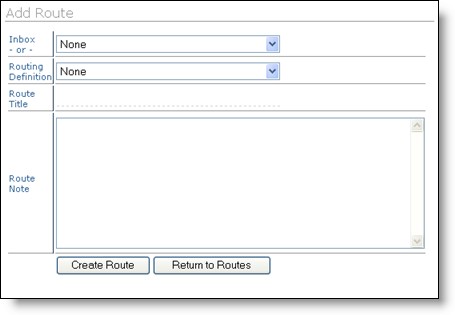
Add Route displays.
-
Fill the routing information, based on the following descriptions:
Field Description Inbox
To send the document to one inbox, choose which inbox to send it to.
Note: If you choose an inbox and a route, the document is sent to the inbox, not the route.
Routing Definition If you are routing the document, choose the route to add the document to.
Note: You must also set InboxtoNone.
Route Title
(Optional) If you are routing the document, type a title that displays on this document's routing list. If you leave the title blank, it uses the default title Document Route.
Route Note
(Optional) If you are routing the document, type a note for the route. Other users on the route can see this note.
For example: Special considerations, concerns, instructions, or so on.
-
Click Create Route.
The document displays in the inbox of the first person on the route.
Using Your Routing Inbox
If your administrator has assigned you to a route, any documents you need to approve display in your routing inbox. Depending on how your administrator has set up Webdocs , you may receive a notification email when you have a new document in your inbox or you may need to check your inbox regularly.
To work with documents in your routing inbox:
-
Click Inbox or another inbox you are working with.
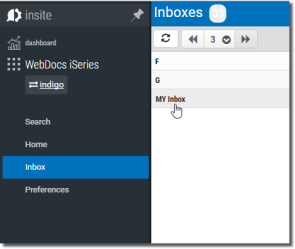
The inbox displays.

-
Decide whether to approve the document:
-
Click View (on the left side of the window) to look at the document.
-
Click the Document Description to display the document information.
-
Click Routing Slip
 to view the route the document is on.
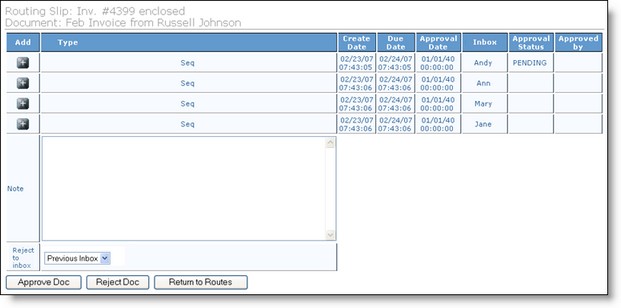
-
-
(Optional) In Note, include a note for this route.
-
Choose whether to:
Note: There is also a set of buttons to the bottom-left of the document information that you can use to quickly approve or reject the document.
-
Approve Doc - Send the document to the next inbox on the route.
-
Reject Doc - Return the document to the previous inbox on the route.
The document is sent to the step you chose, and it is no longer in your routing inbox.
-
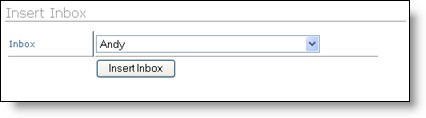
Add an inbox to the route - Click Add on the step to add an inbox to, choose the inbox to add, and clickInsert Inbox.
Note: When you add an inbox, it is added after the step you click.
-