Startup Wizard
The HelpSystems Insite Startup Wizard displays after a successful initial installation to guide you through Insite’s basic configuration steps. The wizard will help you complete these steps to ensure that you are immediately ready to enjoy the benefits of Insite.
To navigate through the wizard:
-
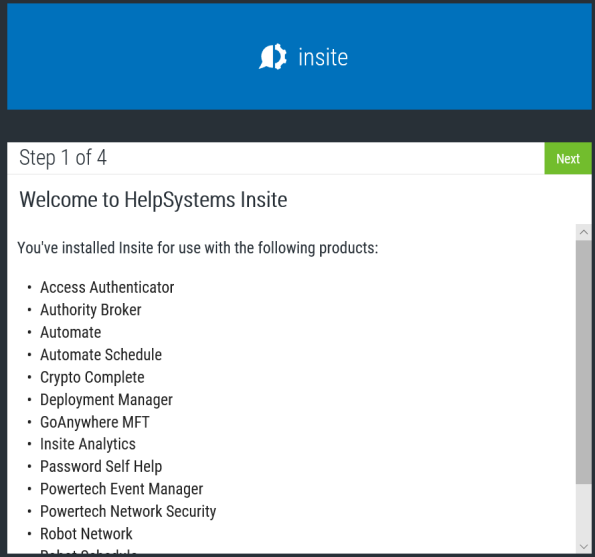
The Getting Started step displays the products you had chosen to install. Click Next to proceed to the next step.
-
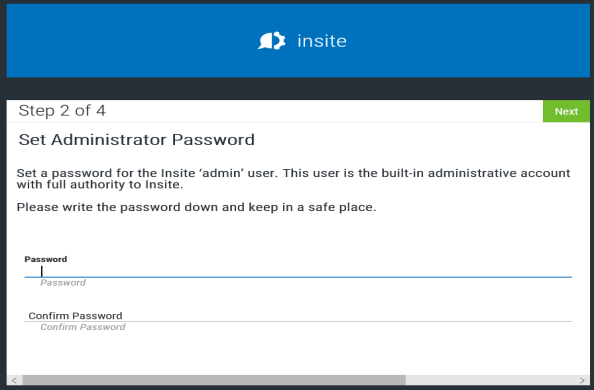
The Admin Password step allows you to create a password for build-in ‘Admin’ user. This administrator account has full authority to Insite. Ensure that you enter a strong password. Click Next to continue.
-
The Connections step allows you to setup an initial product connection for one of the products you chose to install. See Adding a new Product Connection for instructions on how to fill out this form for your selected product.
 IBM i connection considerations:
- New library 'INSITELIB' will be added to all iSeries that Insite is connected to. Upon initial iSeries connection creation, you will be required to provide a login with security administrator (*SECADM) permissions and all object (*ALLOBJ) special authorities, but this login will not be saved. It will only serve to allow Insite to install the INSITELIB library.

- Two new users will be added as well:
- INSITEUSR and INSITEADM - These users function similarly to how RBTADMIN, PTADMIN and RBTUSER, PTUSER behave upon installation of Robot and Powertech products. They are designed to own all connected product objects so that you are not required to create a profile in Insite with *SECOFR permissions to interact with your iSeries.
- If necessary, you can fix the installation of INSITELIB through the Product Connections view or the Alerts view.
NOTE: For Powertech Network Security users, in order to have *USER on the profile connection and use Powertech products, the profile with the connection MUST be added to the PTADMIN authorization list. More information.NOTE: IBM i systems that will be connecting to your Insite Server must be at V7R2 or higher.When finished, click Next to continue.
NOTE: You can click the Skip Wizard button to exit the Startup Wizard and enter Insite.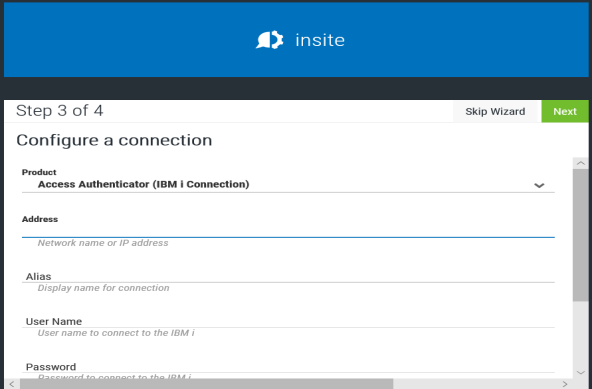
- New library 'INSITELIB' will be added to all iSeries that Insite is connected to. Upon initial iSeries connection creation, you will be required to provide a login with security administrator (*SECADM) permissions and all object (*ALLOBJ) special authorities, but this login will not be saved. It will only serve to allow Insite to install the INSITELIB library.
-
The Connections step continues with an image showing you where in the Insite menu you can find the Product Connections screen to add more product connections. Click Next to continue.
NOTE: You can click the Skip Wizard button to exit the Startup Wizard and enter Insite.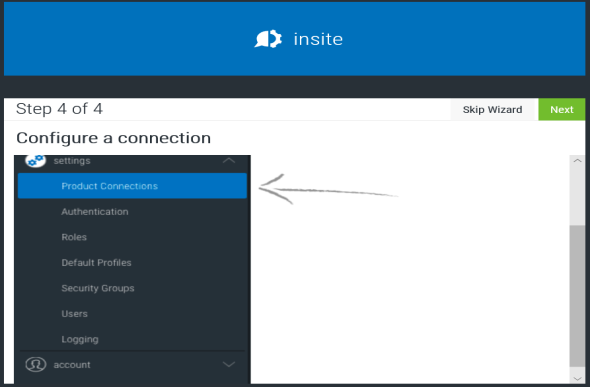
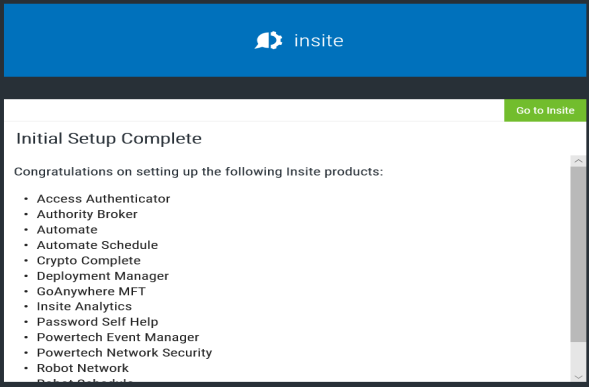
-
The initial setup is complete. Click Go to Insite to enter insite and begin working.