Work with Queries
As the number of queries grow, there are several features available to help you work with, and manage your queries.
Group Actions
Check the box to the left of each query, or the top box to select all queries.
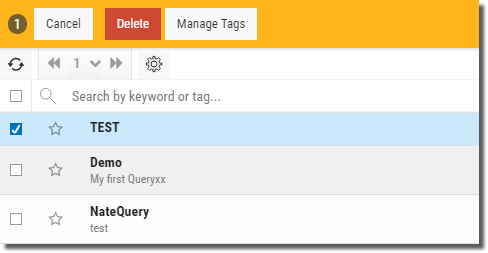
Available actions are displayed along the top of the screen, and can be applied to the checked items.
Sorting
The list of queries can be sorted by query name. Press the Settings  button to select ascending or descending.

Searching / Filtering
Use searching (filtering) to move through your list of queries and find queries quickly and easily. Enter words, phrases and tag values in the search entry to filter and find queries.
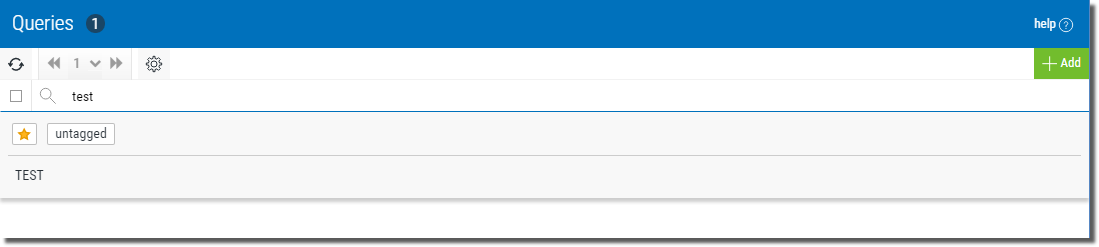
Notice the mini list of found objects as you enter your search string or tag names. Press the Search button  to change the displayed list of queries.
Press the Settings button  to define any limits to your search. In the Search By list, select areas to focus your seach.
Favorites
Check the star next to the query name to mark it as a favorite. You can then press the star in the top search area to limit queries to a list of favorites.

Tags
Tags (keywords) can be created and assigned to queries to provide another method for organizing queries. In the Query Actions menu (shown below) select Manage Tags.
Show (Query) Actions
The Query Actions menu is available to the right of every query in the list, and provides access to the following functions:
Edit
Use this option to make changes to existing queries.
-
Press the Show Actions button
 and select the Edit option.
 The option first displays the Edit Query panel on the right. Here you can make quick changes to the description, tags, caching, groups, and so on. See Query Attributes for more details.
- Press the Save and Edit Query
 button to open the query editor. See Edit Existing Queries for more details.
Tags
Use this option to create, edit and delete query tags.
Press the Show Actions button and select the Tags option. The Manage Tags panel opens on the right of the display.

To create a new tag:
- On the tag entry line type a new tag and press enter. This tag will be added to the query you stated with, and it will also be available to all other queries via the Show Actions menu for each query.
- Press Save
 when done.
To add an existing tag:
- Use the drop-down list to select, or type the name of a tag, if you know it, and the list will filter so you can quickly add.
- Press Save when done.
To remove a tag from a query:
- Click the x inside the tag to delete from the selected list, or backspace over it.
- Press Save when done.
Download
Use this option to create and download query results as a .CSV file.
-
Press the Show Actions button
and select the Download option (you may be prompted for credentials in order to access the query). A window displays so you can give the file a name.

-
Press the Download button
 and the browser will display the progress.
The file is saved in the Windows Downloads folder.

Favorite
Use this option to denote the query as a favorite.
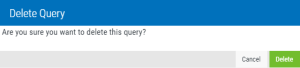
Delete
Use this option to delete an existing query.
-
Press the Show Actions button
and select the Delete option.A second screen displays to confirm your request or cancel.
- Press the Delete button
 .
.

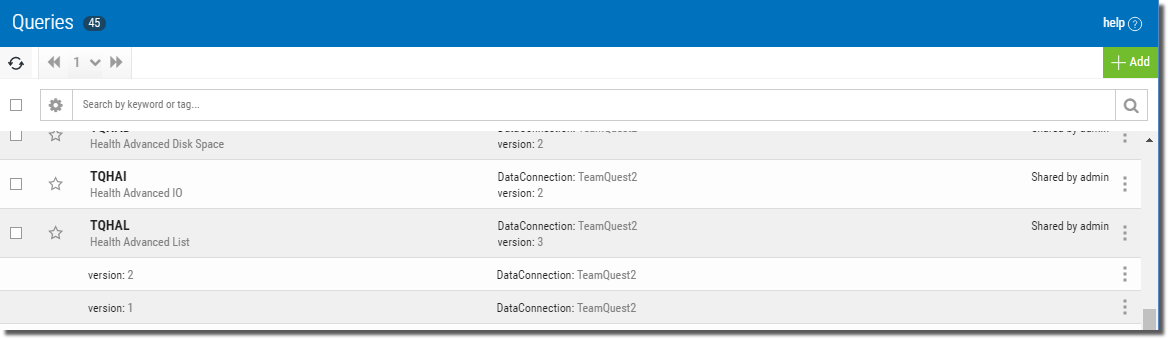
Show/Hide Versions
Every time you make and save a change to a query a version is created in the background.
-
To see the versions, press the Show Actions button
and select the Versions option.The query will expand and displays the versions below.
- To close, press the Show Actions button and select Hide Versions
 .
.
Close
Press to close the Show Actions panel.
See Also: