Working with Screen Captures
Screen Captures taken during Profile Switches can be viewed and distributed to Interested Parties from the Work with Profile Switches screen. You can view individual screen capture images of profile switches, or select any number of captured sessions to be sent to one or more Interested Parties.
Viewing Screen Capture Images Individually
The Authority Broker Administrator has access to all screen capture images stored within Authority Broker.
To view Profile Switch session screen captures individually
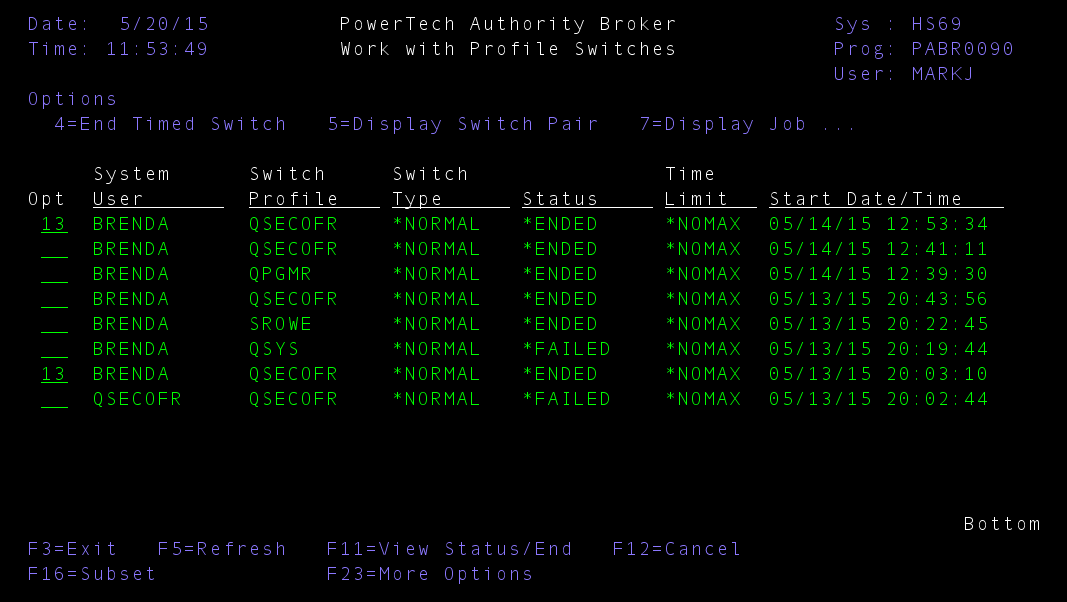
- From the Main Menu, choose option 5, then 4 to open the Work with Profile Switches screen.
- Enter 10 for a Profile Switch. The Work with Screen Captures screen appears.
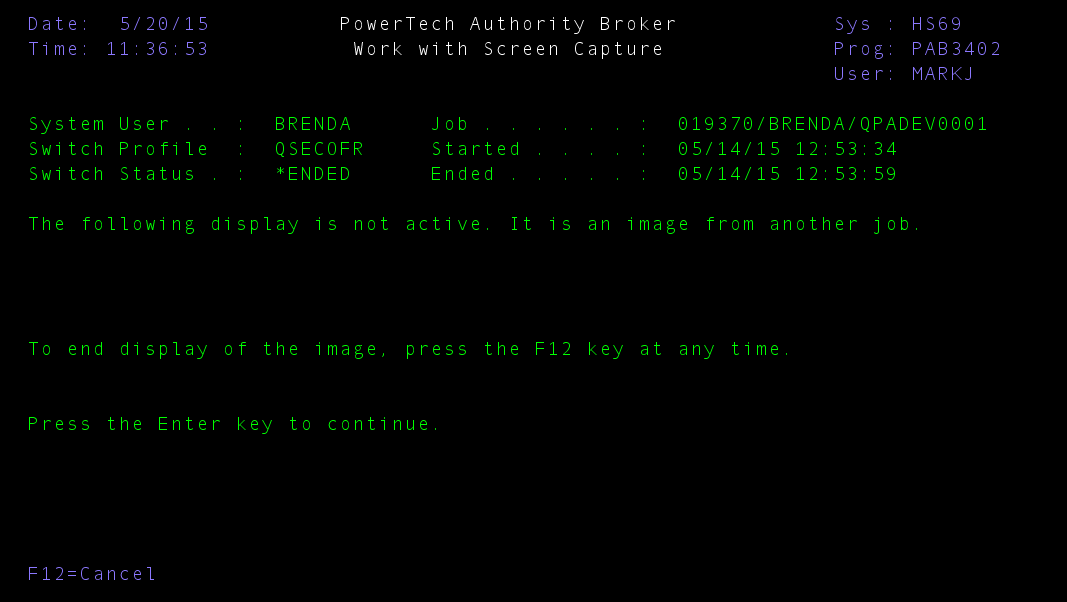
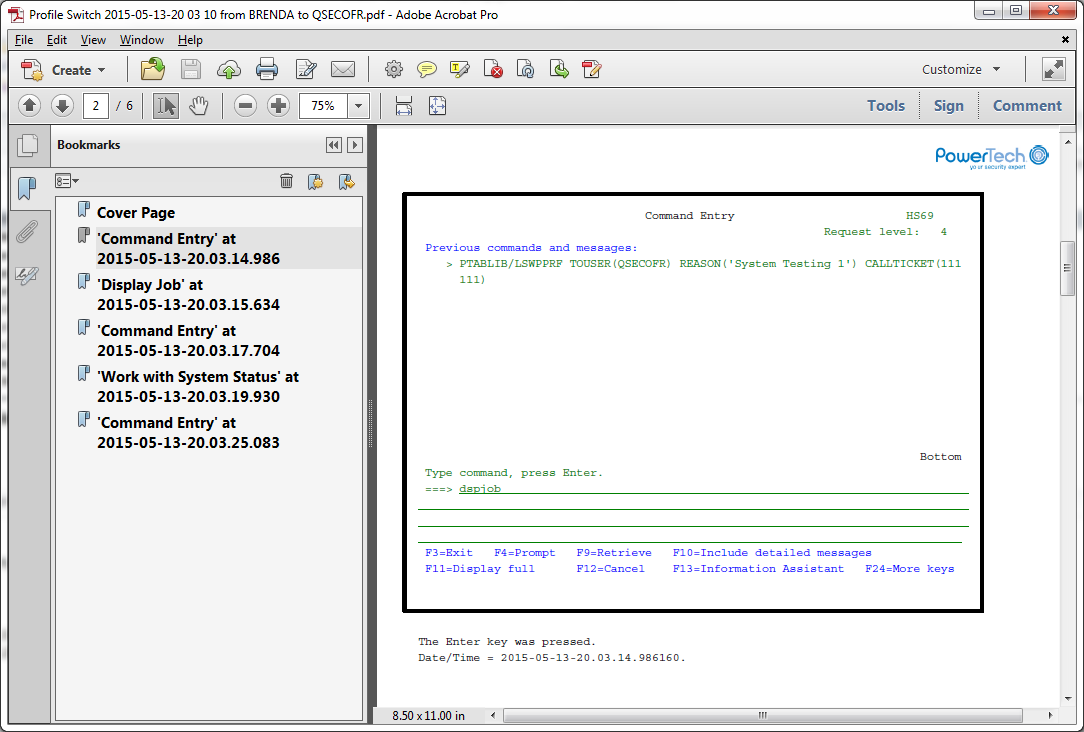
- Enter 5 for a Screen Snippet. A warning screen appears that indicates the next screen will be an image of the screen capture from the Switch.
- Press Enter. The screen capture image appears.
- Press F12 to return to the Work with Screen Captures screen.
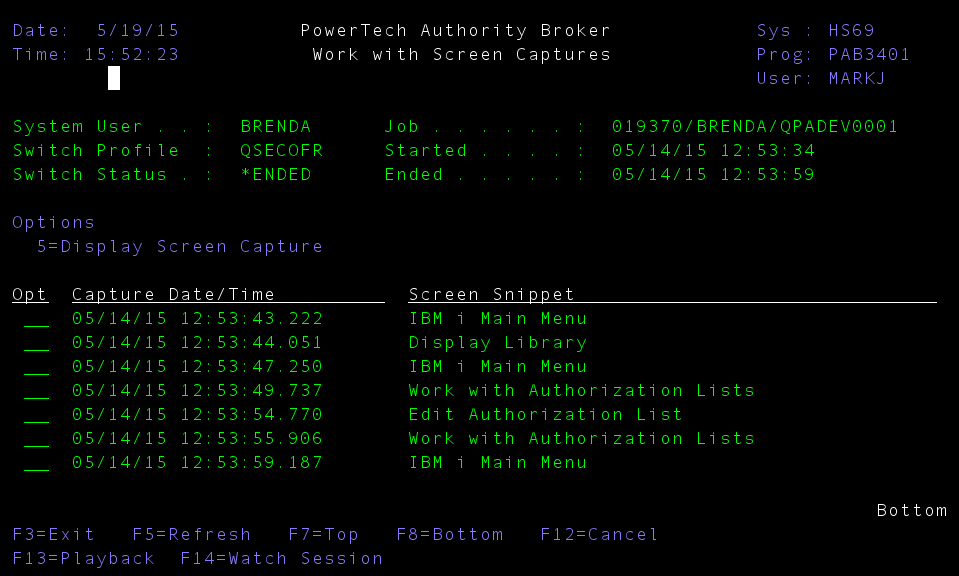
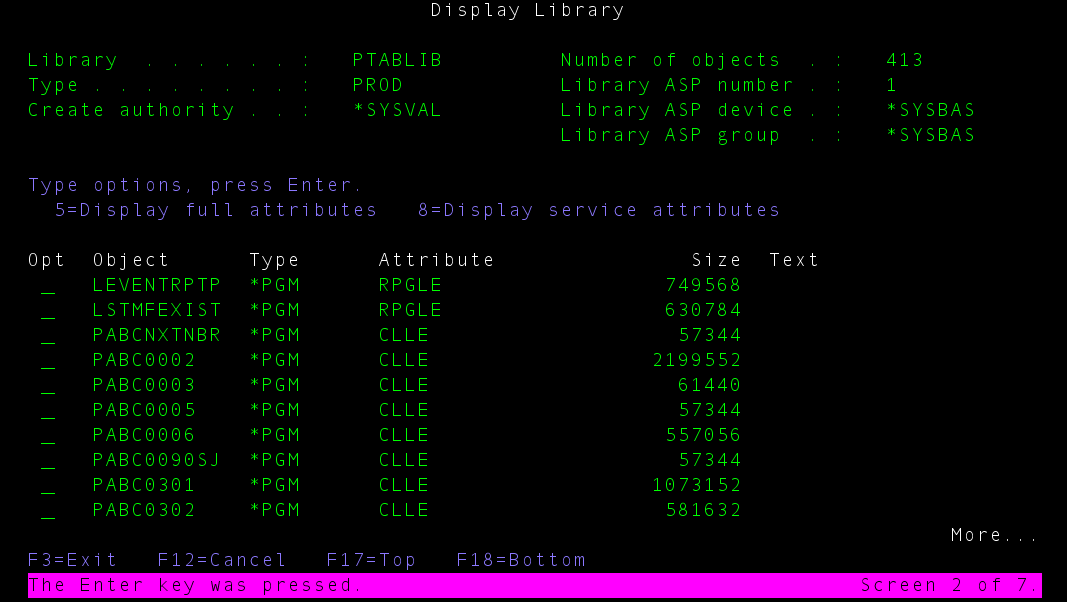
The highlighted text at the bottom of the screen indicates the key pressed by the user following the screen capture image.
Sending Screen Capture PDFs to Interested Parties
In addition to distributing Screen Captures immediately after Profile Switch sessions, you can also regenerate Screen Captures from an earlier session and sent them to selected Interested Parties at a later time.
To regenerate and send screen capture PDFs to Interested Parties
- On the Work with Profile Switches screen, enter option 13, Email Screen Captures, for one or more Profile Switches.
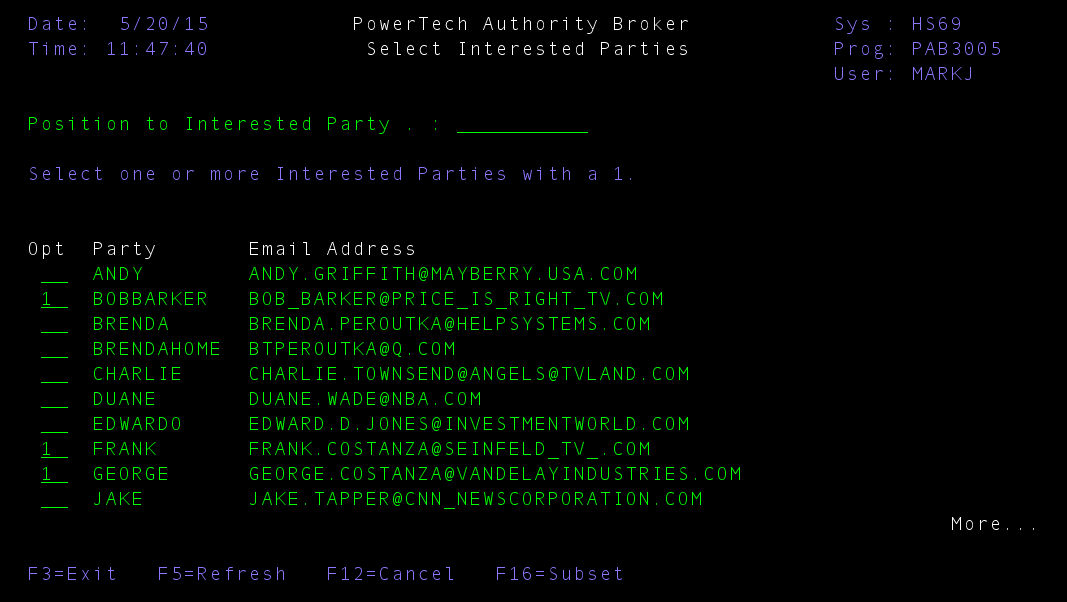
- Press Enter. The Select Interested Parties screen appears.
- Enter 1 next to the Interested Parties who should receive the screen capture PDF.
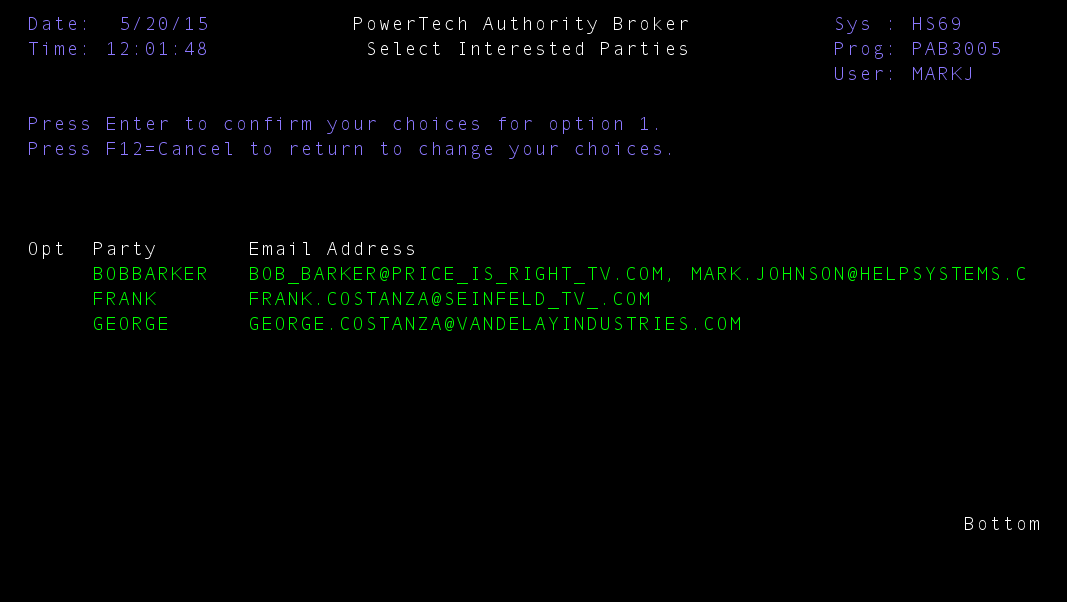
- Press Enter. A confirmation screen appears that includes a list of the selected Interested Parties.
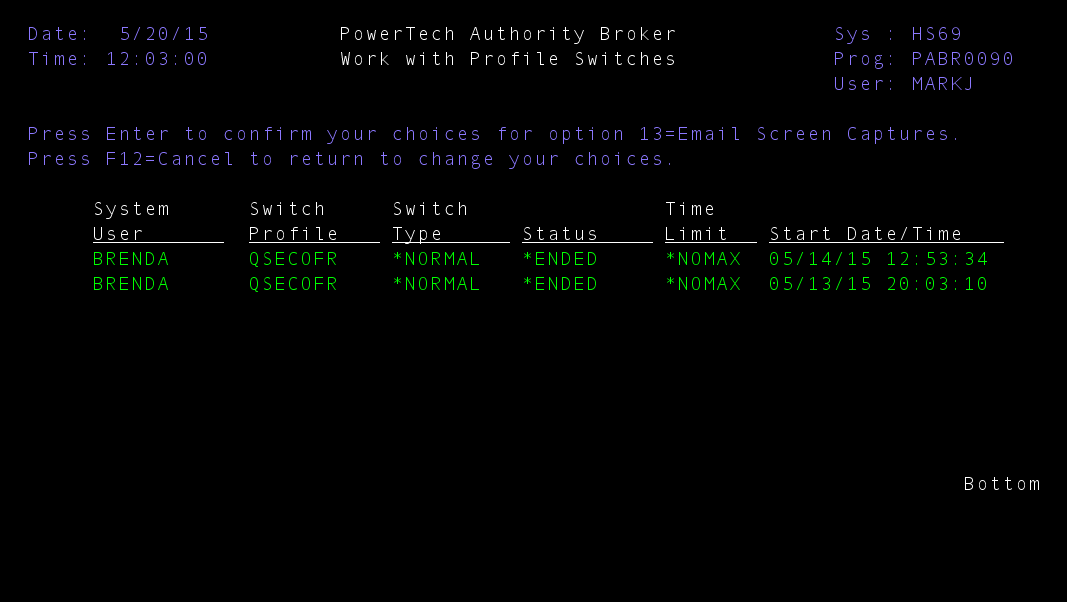
- Press Enter again. A second confirmation screen appears that includes a list of the selected Profile Switches.
- Press Enter again. Authority Broker sends PDFs of each captured session to all selected Interested Parties.
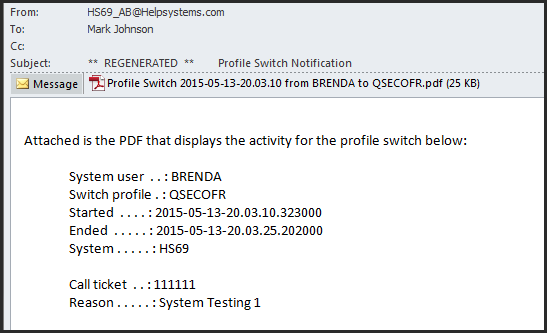
Each regenerated PDF includes screen captures of one of the selected profile switch sessions.
 Previous - Switching Profiles Previous - Switching Profiles
|
Next - FireCall
|